|

- The following steps are a guide to the installation of the Aqua floor tanking system with long channel drains. If you have any questions please contact livinghouse.co.uk
|
|
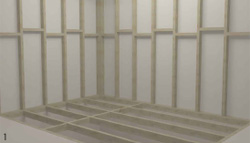
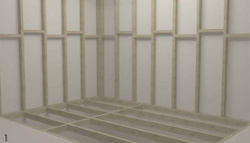
- Ensure joists are in sound condition and have a maximum of 400mm centres. It is important that joists are level in all directions.
|
|
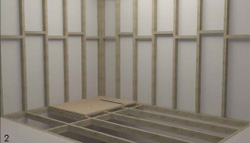
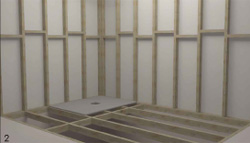
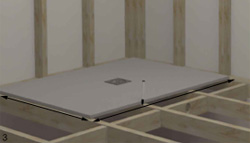
- Rest the linear drain shower tray onto the joists into the desired position. Ensure the waste position of the tray does not interfere with the timber joists.
|
|
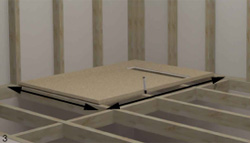
- Mark the hidden tray position on the joists and remove the tray leaving a clearly marked guide.
|
|
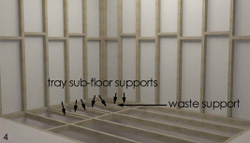
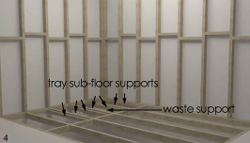
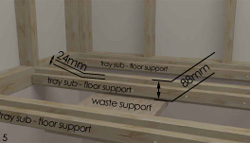
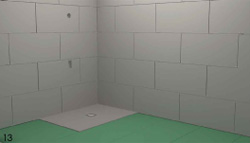
- Install timber supports to the joists ready to install the timber sub-floor. Tray sub-floor supports should be installed 24mm below the top of the joists.
|
|
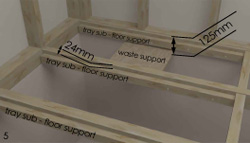
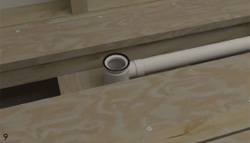
- Install a support for the tray drain and trap 125mm below the top of the joists.
|
|
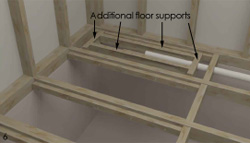
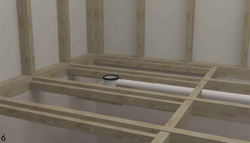
- Additional supports should be installed around the linear shower drain opening. Install pipe work into the floor ready to connect to the long channel drain.
|
|
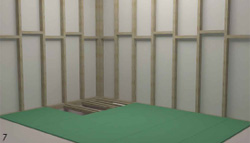
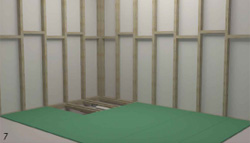
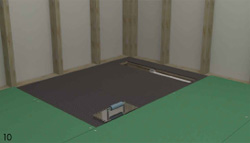
- Install 22mm moisture resistant chipboard to the timber joists leaving the marked wetroom tray area clear.
|
|
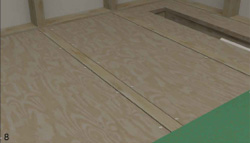
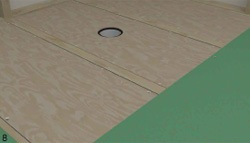
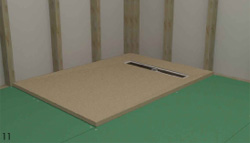
- Install 24mm marine plywood between the timber joists, screwing to the supports. Allow a hole for the long channel waste.
|
|
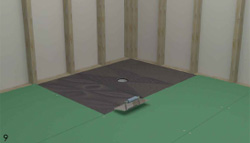
- Position the shower waste and connect the drain pipe. Ensure that the drain body and rubber seal is not proud of the plywood sub-floor.
|
|
- Place shower tray into position. The installed tray should be 6mm above the chipboard. Remove linear tray and apply flexible tile adhesive to the sub-floor of the long channel tray
|
|
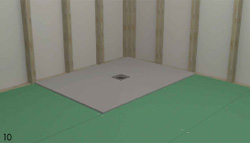
- Install the shower tray making sure there is a 100% bond between the two surfaces. This will ensure the channel tray is flat and water will drain correctly.
|
|
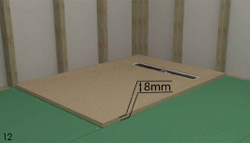
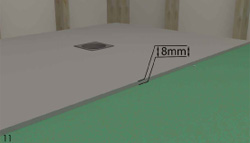
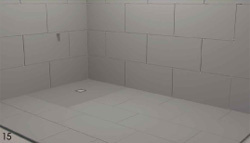
- The tray should sit 8mm proud of the surrounding chipboard. This will allow the waterproof tanking boards to be installed flush with the walk-in tray.
|
|
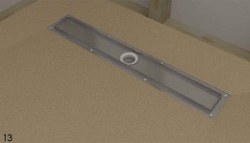
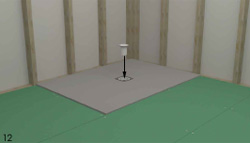
- Secure the long channel drain to the shower tray. Now screw the top of the drain to the trap through the hole of the channel drain body. Insert the odour barrier into the waste.
|
|
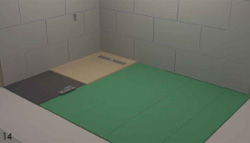
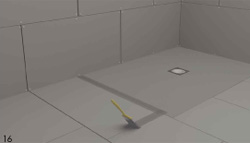
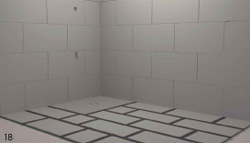
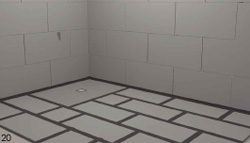
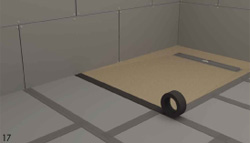
- Using a flexible adhesive install the tanking boards in a brick bond pattern to the chipboard sub-floor. Ensure a 100% bond between the two surfaces.
|
|
- You may decide to install waterproof tanking boards to the walls depending on your wetroom requirements.
|
|
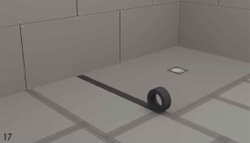
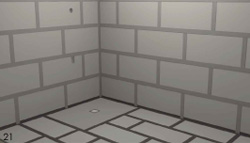
- Using the primer supplied, paint over the joints between the tanking boards, hidden tray and walls. Paint 75mm either side of the joints. Allow a minimum of 4 hours to dry.
|
|
- Apply the supplied tanking tape to all primed joints ensuring good adhesion between the surfaces by applying pressure to the tape.
|
|

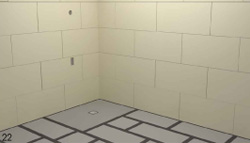
- Ensure all floor joints have been covered, including around the flush wet room tray.
|
|
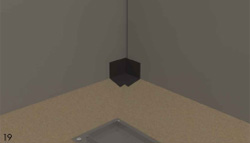
- Fit the pre-made corners to the wet room. Both internal and external corners are supplied.
|
|
- Use the tanking tape to seal around all edges of the room. The tape must be folded into a 90 degree angle securing to both the floor and walls.
|
|
- If waterproof boards are being used on the walls then repeat the steps to prime and seal the joints as shown for the floor and tray.
|
|
- Depending on your tiling requirements you may decide to tile the walls prior to installing the floor tiles or vice versa.
|
|
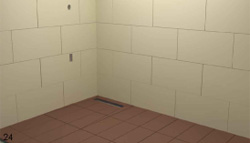
- When installing the floor tiles ensure you use a good quality tile adhesive and the tiles are 100% bonded.
|
|
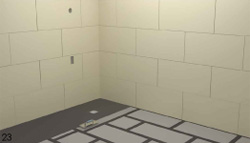
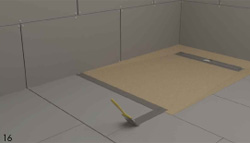
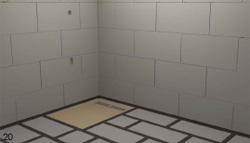
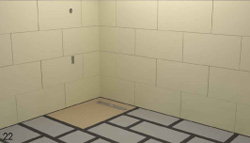
- Please note larger tiles will require cutting at diagonals to the long channel waste. (as shown in picture) This will allow the tiles to follow the falls of the shower tray.
|
|
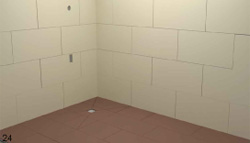
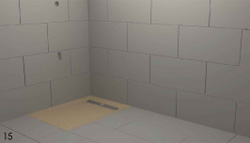
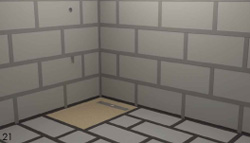
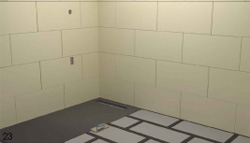
- Smaller tiles (as shown in picture) can easily follow the falls of the tray without the need for diagonal cutting.
|
|
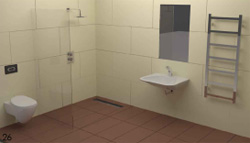
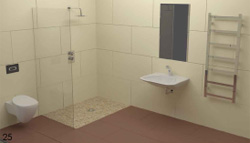
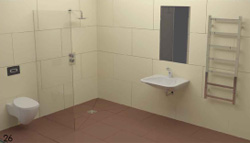
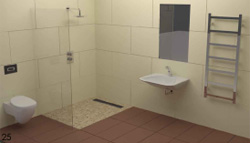
- Livinghouse can also supply all of your designer bathroom product requirements such as shower screens, toilets, wash basins and towel rails.
|
|

- Thank you for choosing the Aqua floor tanking system. If you have any questions on the fitting of the wet room tanking system please contact Livinghouse.co.uk
|